Applying for a passport or visa can be a stressful process, and a rejected photo is the last thing anyone needs! Fortunately, in 2026, taking your own passport photo at home is easier and more reliable than ever, thanks to advancements in Artificial Intelligence (AI). This comprehensive guide provides you with a step-by-step approach to mastering at-home passport photos, ensuring compliance, and minimizing the risk of rejection. Get ready to say goodbye to expensive photo studios, avoid rejection, save money and hello to a smooth, stress-free application process!
Understanding the Updated 2026 Passport Photo Requirements
Before you grab your smartphone and start snapping, it's crucial to understand the official passport photo requirements. These guidelines are in place to ensure your photo accurately represents your identity and meets international standards for biometric identification. In 2026, expect even stricter enforcement of these rules due to advanced facial recognition technology. Remember, the goal is to create a photo that clearly represents you, according to government standards. For example, it's important to understand passport photo dress code.
Here's a breakdown of the key requirements, based on current US Department of State guidelines, and anticipating stricter enforcement in 2026:
- Color: The photo must be in color; black and white photos are not accepted.
- Size and Dimensions: The photo must be 2x2 inches (51x51 mm). It needs to be a square, not rectangular.
- Head Size: Your head should measure between 1 inch and 1 3/8 inches (25 to 35 mm) from the bottom of your chin to the top of your head. This should represent 50% to 69% of the photo's total height.
- Digital Resolution: For online submissions, the photo must be between 600x600 and 1200x1200 pixels with a minimum of 300 DPI. The file should be a JPEG, with a file size between 54KB and 240KB.
- Recency: The photo must be taken within the last six months to reflect your current appearance.
- Background: A plain white or off-white background is required, free of shadows or distractions. It should have a uniform appearance, with no visible lines, textures, or gradients. AI-powered tools can assist with this (more on that later!).
- Pose: You must face the camera directly with a neutral expression. No smiling, frowning, or raised eyebrows. Keep your eyes open and look directly at the lens. It's important to know is it okay to smile in a passport photo.
- Attire: Wear normal, everyday clothing. Avoid uniforms or clothing that resembles a uniform. Religious attire is permitted if worn daily, but it must not obscure your facial features. Camouflage attire is not allowed.
- Accessories: Eyeglasses are generally prohibited unless medically necessary. If you must wear them (e.g., for medical reasons), ensure there's no glare, tinted lenses, or frames obscuring your eyes. A doctor's note might be necessary. Hats and head coverings are not allowed unless worn daily for religious reasons, with a signed statement.
- Lighting: The face must be evenly lit, with no shadows or glare. Natural light is best, but avoid direct sunlight. Ensure even lighting to eliminate shadows on your face or background.
- Digital Alterations: Important: Altering your appearance through digital retouching or filters is strictly prohibited by the U.S. Department of State. Minor adjustments to brightness or contrast may be acceptable, but avoid anything that changes your facial features. AI can be used for background and sizing, but never to alter your appearance. Learn more about passport photo retouching.
Step-by-Step DIY Guide to Taking Passport Photos at Home
Now that you know the rules, let's get started with the DIY process. Follow these steps for a photo that is both compliant and captures you looking your best:
- Find a Suitable Location: Choose a well-lit room with a plain white or off-white background. A blank wall or a white sheet works perfectly. Ensure there are no shadows on your face or the background. See passport photo background rules.
- Set Up Your Camera: Use a smartphone or digital camera with a decent resolution (aim for at least 12 megapixels). Place the camera on a tripod or stable surface to avoid blurry images. Use a timer or remote shutter to minimize movement.
- Lighting is Key: Natural light is your best friend. Position yourself facing a window, but avoid direct sunlight, which can create harsh shadows. The ideal time is during the early morning or late afternoon. If natural light is insufficient, use two soft, diffused lights on either side of you to create even illumination. Avoid using a direct flash, which can cause harsh shadows and red-eye.
- Posing and Expression: Stand or sit straight, facing the camera directly. Relax your facial muscles and maintain a neutral expression. Keep your eyes open and look directly at the lens. Practice your neutral expression in a mirror beforehand.
- Take Multiple Shots: Take several photos with slightly different angles and expressions. This will give you more options to choose from later. It's always better to have too many options than not enough!
- Review and Select: Carefully review the photos and choose the one that best meets all the requirements. Pay close attention to lighting, pose, expression, and background. Enlist a second opinion to help you choose.
For a visual guide, check out this helpful video on how to take passport photos at home:
Leveraging AI for Guaranteed Compliance in 2026
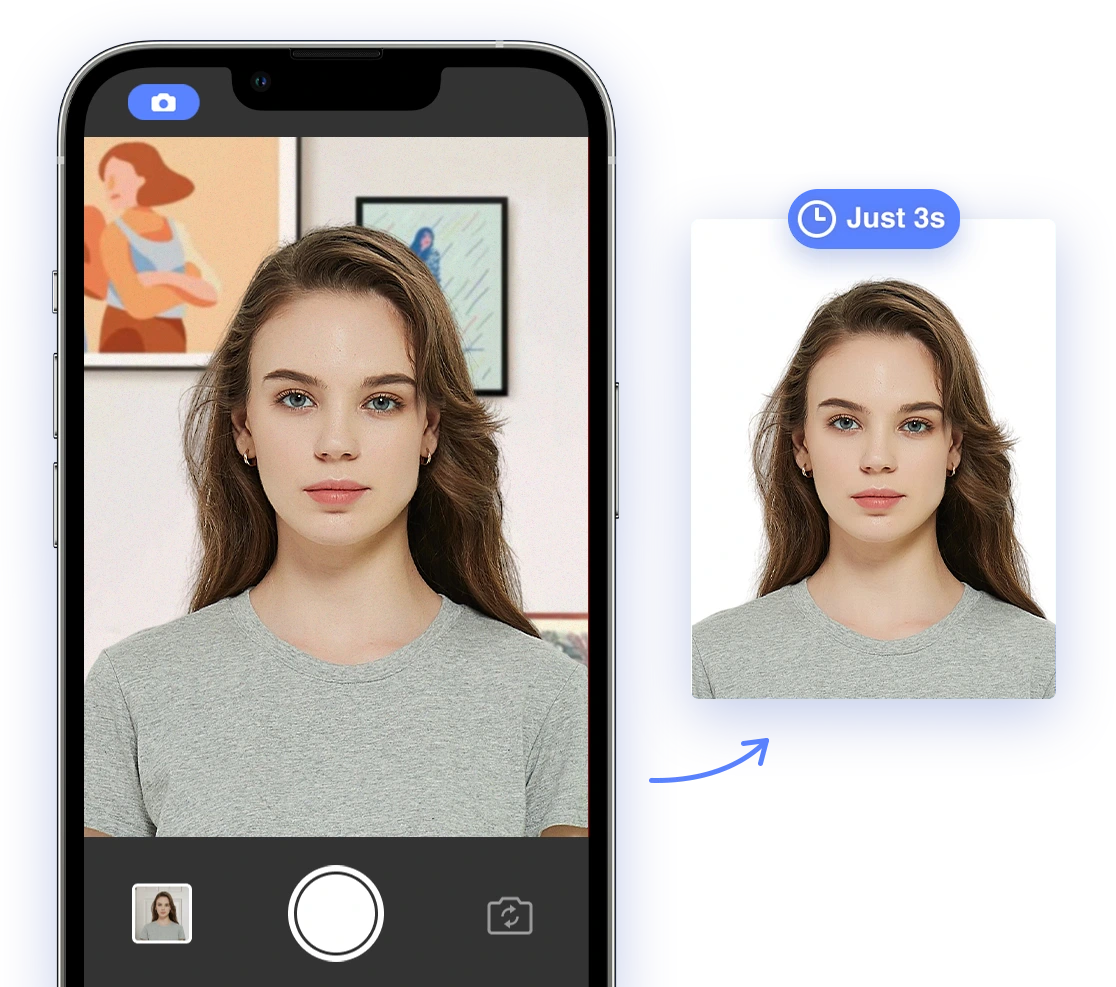
As technology advances, so do the tools available to ensure passport photo compliance. In 2026, AI-powered tools will be even more sophisticated, offering near-guaranteed accuracy and convenience. These tools can assist with various aspects of the process, helping you avoid common pitfalls and secure approval.
Benefits of Using AI Tools:
- Automated Background Removal: AI can automatically detect and remove distracting backgrounds, replacing them with a plain white or off-white backdrop that meets official requirements.
- Precise Resizing and Cropping: AI tools accurately resize and crop your photo to meet the 2x2 inch dimensions and ensure your head size is within the specified range.
- Expression and Pose Analysis: AI can analyze your expression and pose, alerting you if they don't meet the requirements. It can detect smiles, frowns, tilted heads, and other issues that could lead to rejection.
- Lighting and Shadow Correction: AI algorithms can automatically adjust the lighting and shadows in your photo, ensuring even illumination and eliminating harsh shadows or glare.
AI-powered tools, including AI Passport Photo, are based on algorithms and machine learning models, which, like any technology, have limitations.
- Dependence on Image Quality: The accuracy of AI tools heavily relies on the quality of the input photo. Poorly lit, blurry, or low-resolution images may result in inaccurate analysis and incorrect adjustments.
- Bias and Fairness: AI algorithms are trained on datasets that may reflect existing biases related to gender, race, age, or other demographic factors. This can lead to unfair or discriminatory outcomes, where certain individuals or groups are more likely to have their photos rejected. Developers must actively work to mitigate these biases and ensure fairness in AI-powered tools.
- Inability to Handle Complex Cases: While AI can handle most common scenarios, it may struggle with complex cases, such as individuals with medical conditions, disabilities, or unique cultural attire that require specific accommodations. In such situations, human review and judgment are still necessary.
- Over-Reliance and Loss of Human Oversight: Over-reliance on AI tools without proper human oversight can lead to errors and unintended consequences. It's crucial to maintain a balance between automation and human judgment to ensure accuracy, fairness, and ethical decision-making.
Before submitting your application:
- Always double-check that the AI-generated photo looks like you and is a fair representation of your appearance.
- Ensure all aspects of the photo (lighting, background, pose) meet the official requirements.
- If you are unsure seek expert help to manually assess your final photo.
Troubleshooting Common Issues
Even with careful planning and AI assistance, you might encounter some common issues during the DIY passport photo process. Here's how to troubleshoot them:
- Blurry Photos: Ensure your camera is stable and the lighting is sufficient. Use a tripod or stable surface and consider using a remote shutter or timer to minimize movement.
- Uneven Lighting: Use two soft, diffused lights on either side of you to create even illumination. Avoid using a direct flash. Experiment with different light sources and positions to find the best setup.
- Red Eye: Avoid using a direct flash, which can cause red-eye. If red-eye does occur, use a photo editing tool to correct it subtly. However, avoid any other digital alterations.
- Shadows on the Face or Background: Adjust your lighting to eliminate shadows. Use a reflector or additional light sources to fill in any shadows. Ensure the background is evenly lit and free of distractions.
Additional Tips for a Successful Passport Photo
Here are a few additional tips to help you create a flawless passport photo:
- Dress Appropriately: Wear normal, everyday clothing. Avoid uniforms or clothing that resembles a uniform. Choose a color that contrasts with the white background but isn't too bright or distracting.
- Grooming: Ensure your hair is neatly styled and does not cover your face. Remove any facial piercings or jewelry that might obstruct your features.
- Practice Makes Perfect: Take several practice shots beforehand to get comfortable with the posing and expression. Experiment with different angles and lighting to find what works best for you.
- Seek Expert Opinion: If you're unsure whether your photo meets the requirements, consider seeking a professional opinion. Many photo studios and online services offer passport photo review services.
What to do if your Passport Photo is Rejected
If your passport photo is rejected, don't panic! The rejection notice will typically state the reason for the rejection. Review the requirements and address the issue accordingly. Take a new photo, ensuring it meets all the guidelines, and resubmit it with your application. Check what if my passport photo is rejected.
Conclusion
Taking your own passport photo at home in 2026 can be a convenient and cost-effective option. By understanding the updated requirements, leveraging AI-powered tools, and following these DIY tips, you can create a compliant photo that ensures a smooth and successful passport application. Remember, accuracy and compliance are key! So, grab your smartphone, set up your lighting, and say cheese (but not too much)!
Ready to create your compliant passport photo? Try our AI Passport Photo tool today for guaranteed approval!