Understanding the Core USCIS Photo Requirements
The USCIS has specific guidelines regarding the photos you submit with your naturalization application. Meeting these requirements is not just a suggestion; it's mandatory. Here's a breakdown of the core elements. Failing to meet even one of these requirements can lead to rejection, so pay close attention:
* **Photo Size:** Your photos must be 2x2 inches (51x51 mm). This is a standard size, but accuracy is key.
* **Color:** Photos must be in color. Black and white photos are not accepted.
* **Image Quality:** The image should be clear, sharp, and in focus. Avoid blurry or grainy photos. Poor quality images are a common cause for rejection.
* **Head Size:** The head should measure between 1 inch and 1 3/8 inches (25 mm and 35 mm) from the top of the head to the bottom of the chin. Getting this measurement right is vital.
* **Background:** The background must be white or off-white. No patterns or distracting elements should be present.
* **Pose:** You must face the camera directly with a neutral facial expression. No smiling, frowning, or raised eyebrows. This is to ensure accurate biometric data can be captured.
* **Eyes:** Both eyes must be open and clearly visible. Glasses are generally not allowed (more on this later).
* **Lighting:** The photo should be evenly lit, with no shadows or glare. Uneven lighting can distort your features.
* **Recency:** The photo must be taken within the last six months. This ensures the photo accurately reflects your current appearance.
Dress Code Guidelines for a Flawless Photo
What you wear in your USCIS photo matters. While there isn't a strict uniform, here are some guidelines to ensure your attire doesn't lead to application rejection. Choose your clothing carefully to avoid any issues:
* **Clothing:** Wear normal, everyday clothing. Avoid uniforms or clothing that resembles a uniform. Civilian attire is a must.
* **Head Coverings:** Head coverings are generally prohibited unless worn daily for religious reasons. If you wear a head covering, submit a signed statement confirming that it is part of recognized, traditional religious attire and is customarily or required to be worn continuously when in public. The head covering must not obscure your facial features. Make sure your face is fully visible.
* **Jewelry:** Small, conservative jewelry is generally acceptable, as long as it doesn't obscure your face. Avoid large or distracting pieces.
DIY Tips for Taking a Great Photo at Home
Taking your USCIS photo at home can save you time and money. Here's how to do it right. Follow these steps carefully for the best results:
1. **Find a Suitable Background:** Use a white or off-white wall as your background. Make sure it's free from patterns or distractions. A plain background is essential.
2. **Optimize Lighting:** Use natural light if possible. Position yourself facing a window, but avoid direct sunlight, which can cause harsh shadows. If natural light isn't available, use two soft, diffused lights to illuminate your face evenly. Even lighting is crucial for a clear photo.
3. **Set Up Your Camera:** Use a high-resolution digital camera or smartphone. Position the camera at eye level and about 4 feet away from you. A stable setup will prevent blurry photos.
4. **Pose Correctly:** Face the camera directly with a neutral expression. Keep your shoulders relaxed and avoid tilting your head. A straight-on pose ensures accurate facial recognition.
5. **Take Multiple Shots:** Take several photos to ensure you have a few good options to choose from. More options increase your chances of finding the perfect shot.
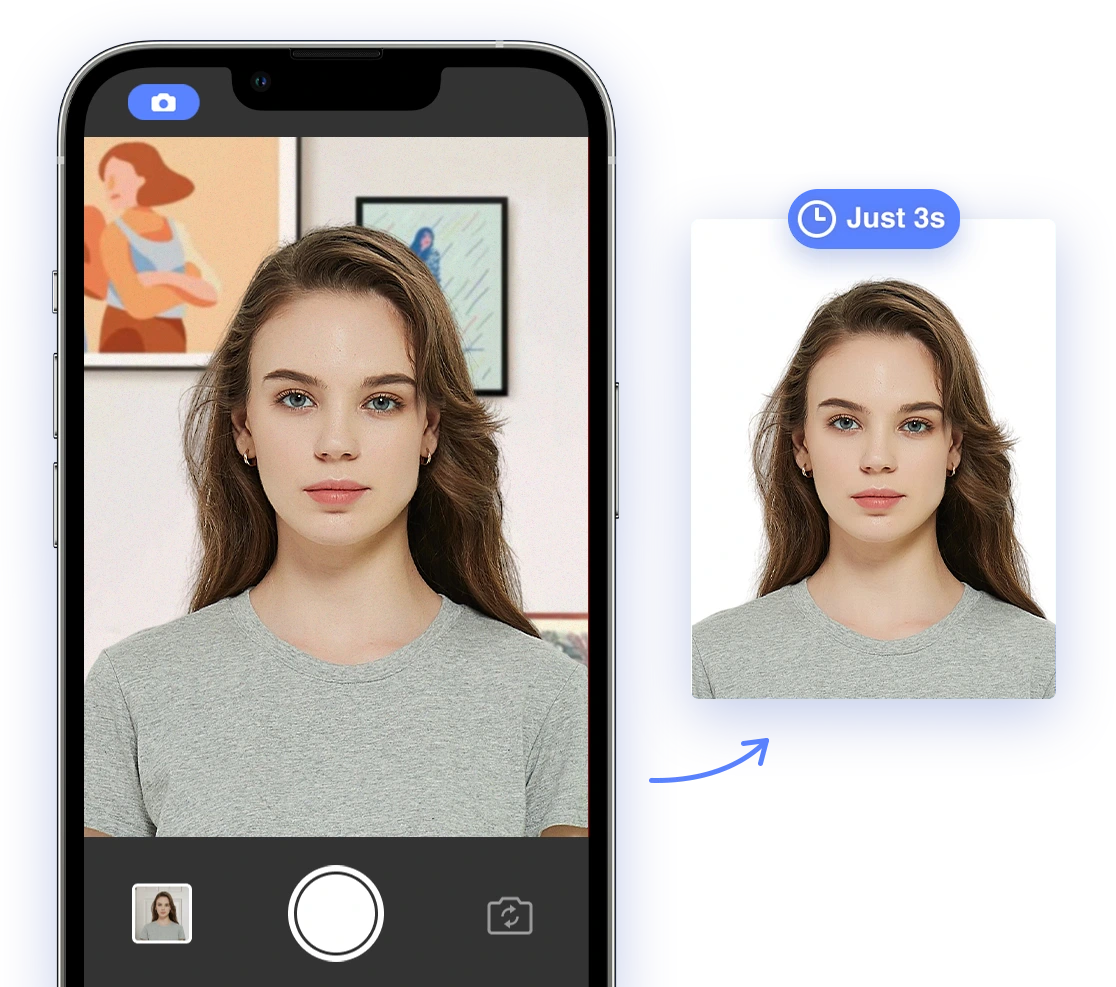
6. **Use an AI Photo Tool:** Utilize a tool like
AI Passport Photo to ensure the photo meets all technical requirements. These tools can automatically crop, resize, and adjust the photo to meet USCIS standards. AI tools can be a lifesaver for ensuring compliance.
Addressing Specific Situations and Common Concerns
Navigating the USCIS photo requirements can be tricky, especially when dealing with specific circumstances. Here are some answers to common questions to help you through any unique situations:
* **Can I wear eyeglasses in my photo?** Generally, no. USCIS prefers that you remove your eyeglasses to ensure your eyes are clearly visible. However, if you cannot remove your glasses for medical reasons, you must submit a signed statement from a medical professional. A medical statement is essential if you cannot remove your glasses.
* **What if I have a medical condition that affects my appearance?** Submit a signed statement from a medical professional explaining your condition and how it affects your appearance. Transparency is key when dealing with medical conditions.
* **How do I take a photo of my infant or young child?** Lay the baby on a white or off-white sheet. Ensure there are no shadows on the baby's face. You can also hold the baby, ensuring that your hands are not visible in the photo. Patience and a plain backdrop are essential for infant photos.
Leveraging AI-Powered Solutions for Guaranteed Compliance
Meeting the USCIS photo requirements can be challenging, but AI-powered tools can simplify the process.
AI Passport Photo, for example, uses advanced algorithms to analyze your photo and ensure it meets all technical specifications. It can dramatically increase your chances of approval.
It can:
* Automatically crop and resize your photo to the correct dimensions. This saves you the hassle of manual adjustments.
* Adjust the background to meet USCIS standards. Ensuring a plain, white background is easily achieved.
* Check for proper head size and positioning. Accurate head measurements are guaranteed.
* Verify that the lighting is even and free from shadows. AI can detect and correct lighting issues.
Using an AI-powered tool can significantly reduce the risk of photo rejection and ensure your application progresses smoothly. It's a worthwhile investment for peace of mind.
Troubleshooting Common Photo-Related Rejection Reasons
Even with careful planning, photos can still be rejected. Here are some of the most common reasons for rejection and how to avoid them:
* **Poor Image Quality:** Ensure your photo is clear, sharp, and in focus. Avoid using low-resolution cameras or taking photos in poor lighting. Use a high-quality camera and good lighting.
* **Incorrect Background:** The background must be white or off-white. Avoid using patterned or colored backgrounds. A plain background is a must.
* **Improper Head Size:** The head size must be within the specified range. Use a ruler or an AI tool to verify the head size. Accurate measurements are key.
* **Unnatural Facial Expression:** Maintain a neutral expression. Avoid smiling, frowning, or raising your eyebrows. A neutral expression ensures accurate biometric capture.
* **Eyes Not Visible:** Ensure your eyes are open and clearly visible. Remove eyeglasses unless medically necessary. Clear visibility of your eyes is essential.
By addressing these potential issues proactively, you can minimize the risk of rejection.
Step-by-Step Guide to the Online and In-Person Submission Process
Submitting your photos correctly is just as important as taking them. Here's a step-by-step guide to both the online and in-person submission processes:
**Online Submission:**
1. **Scan your photos:** If you took a physical photo, scan it at a high resolution (300 dpi). High resolution scans preserve image quality.
2. **Check file format and size:** Ensure your photo is in JPEG format and meets the specified file size requirements (typically less than 240KB). Meeting file specifications is crucial for online uploads.
3. **Upload your photo:** Follow the instructions on the USCIS website to upload your photo. Double-check that you are uploading the correct file.
4. **Review your application:** Double-check that your photo is correctly uploaded and meets all requirements before submitting your application. A final review can catch any last-minute errors.
**In-Person Submission:**
1. **Print your photos:** Print two identical color photos on matte or glossy photo paper. Use high-quality photo paper for best results.
2. **Verify photo quality:** Ensure the printed photos are clear, sharp, and in focus. Inspect the printed photos carefully.
3. **Attach photos to your application:** Use tape or glue to attach the photos to the designated space on the application form. Securely attach the photos to prevent loss.
What to Do if Your Photo Gets Rejected
If your photo gets rejected, don't panic! USCIS will send you a notice explaining the reason for the rejection. Here's what to do:
1. **Review the rejection notice:** Carefully read the notice to understand why your photo was rejected. Understanding the rejection reason is the first step to correcting it.
2. **Correct the issue:** Address the specific problem identified in the notice. This may involve taking a new photo, adjusting the lighting, or changing your attire. Take action to fix the identified problem.
3. **Resubmit your application:** Once you've corrected the issue, resubmit your application with the new photos. Resubmitting promptly keeps your application on track.
Remember, a rejection is not a denial of your application, but rather a request for more information or clarification. Take it as an opportunity to improve your submission.
Final Thoughts
Obtaining US citizenship is a significant achievement, and ensuring your application is complete and accurate is crucial. By following this comprehensive guide and utilizing AI-powered tools like
AI Passport Photo, you can confidently create compliant photos that meet all USCIS requirements, minimizing stress and maximizing your chances of a successful citizenship journey. Take each step with confidence, and good luck on your path to citizenship!
Consider exploring
AI Passport Photo for a seamless and guaranteed photo approval. Also, learn more about
US Passport Photo Requirements to avoid common mistakes.